Quilts & fabric

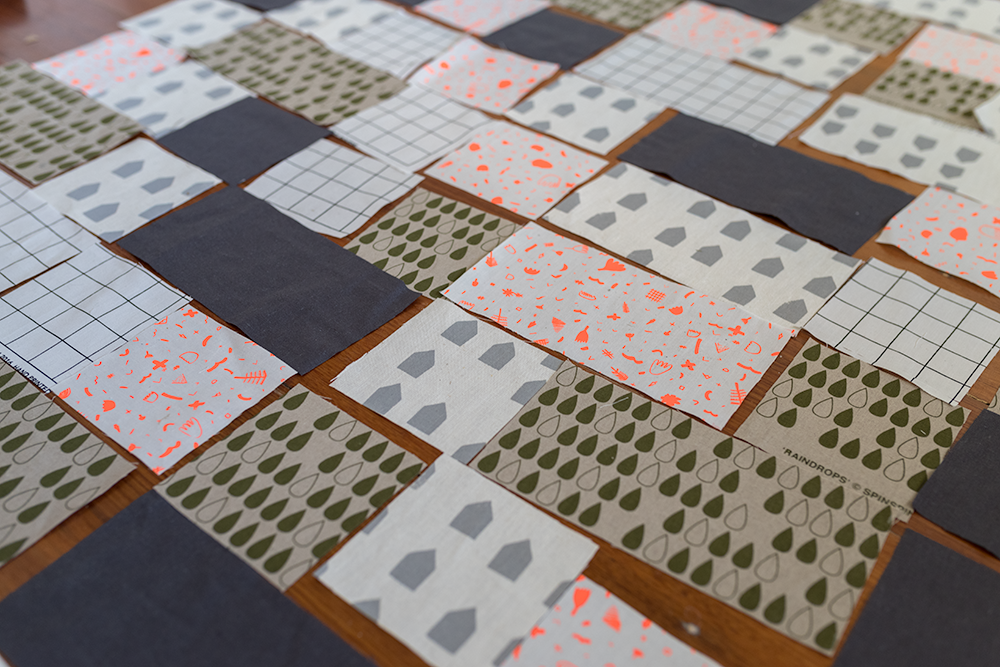
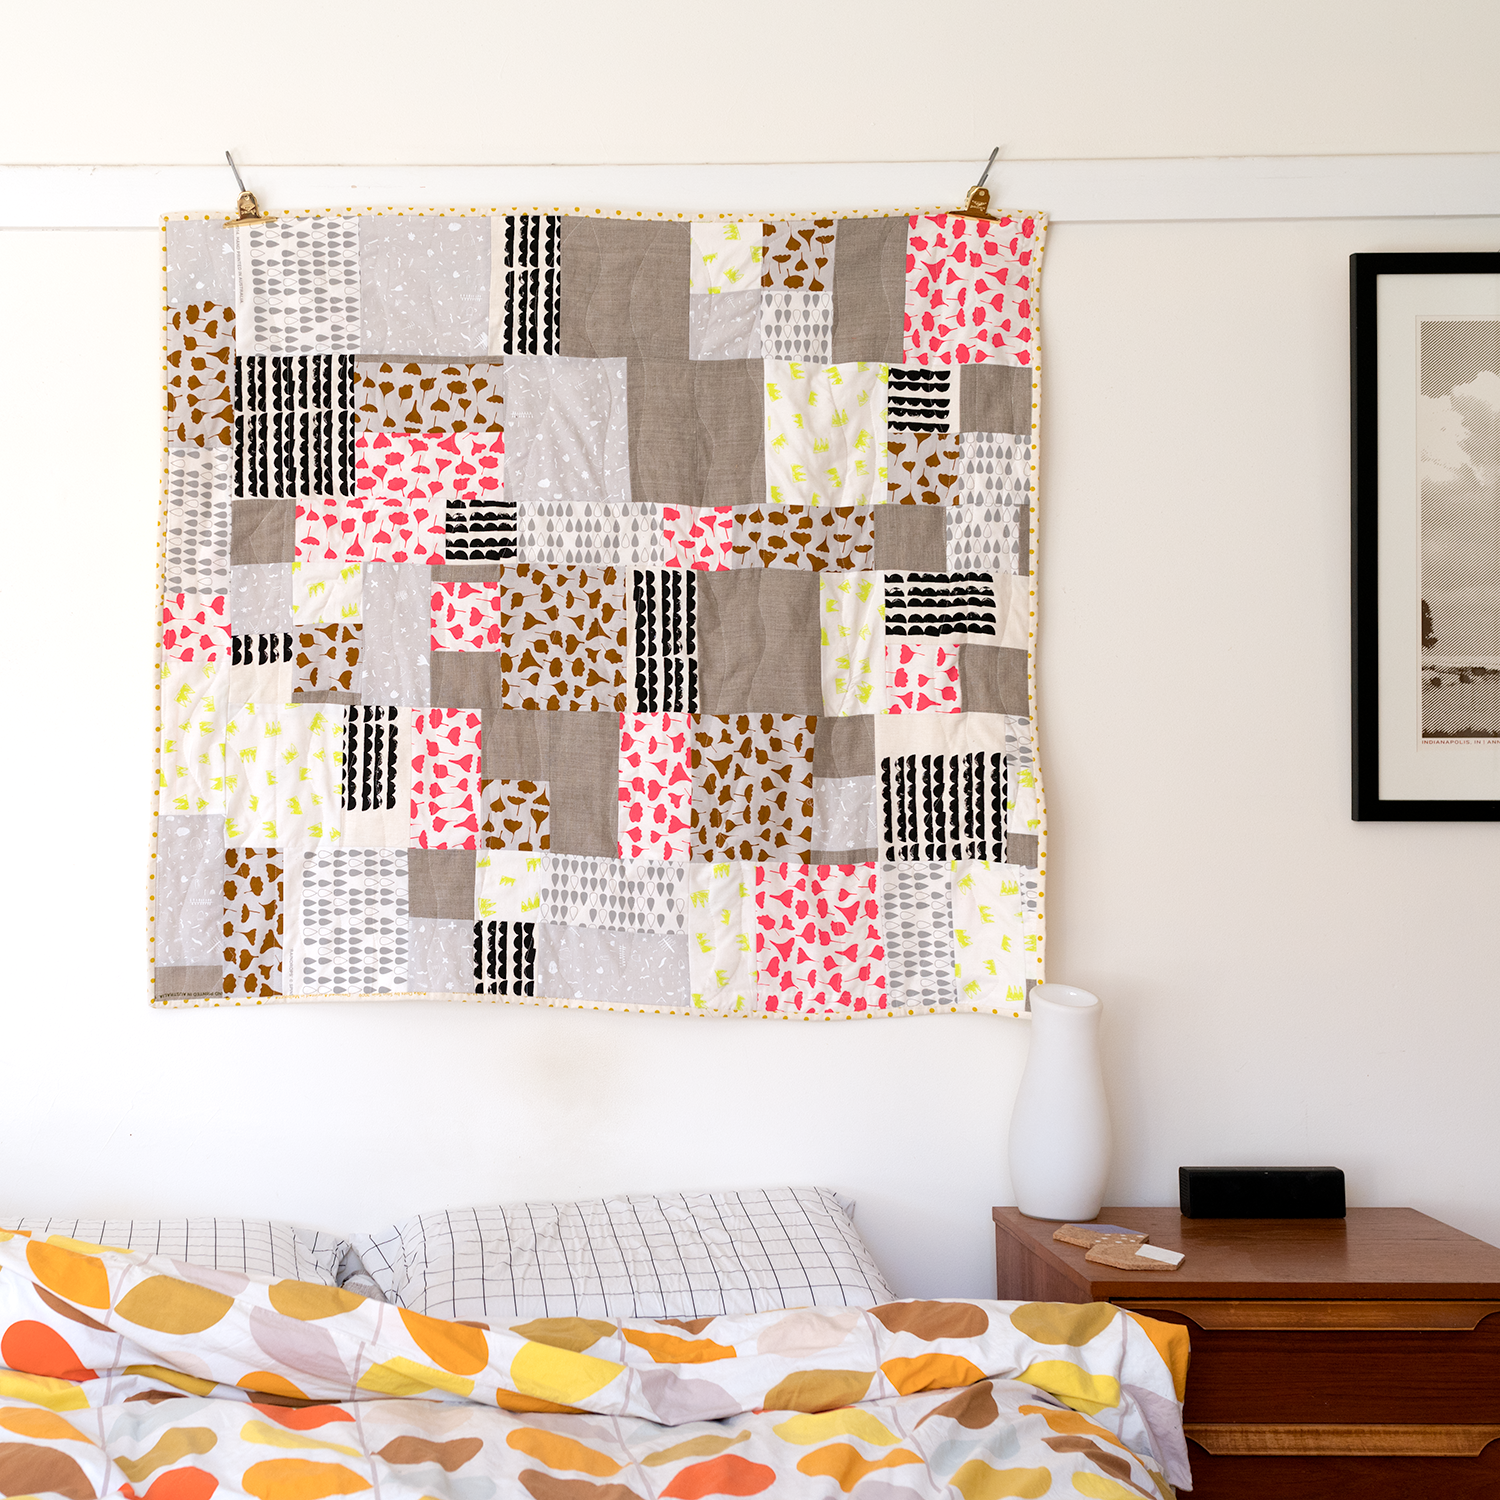
This is what I’ve been up to lately. Thanks COVID. My style of quilting and patchworking is simple - work with what you’ve got and Tetris it all together. Start out on a big table or clear the floor and put all the pieces together in a pleasing way. Mix them around until all the patterns and shapes and colours just work. Then work in rows, stitching together. Simple! I’ve long thought about creating a quilt pattern, but how do you plan for order when you start with chaos? :)

Anyway, I’ve listed a bunch of quilts in the Spin Spin Etsy shop, and if you’d like to make one yourself keep an eye out for mega fabric packs, coming soon. And take care out there.

New Quilt and maybe a Pattern!

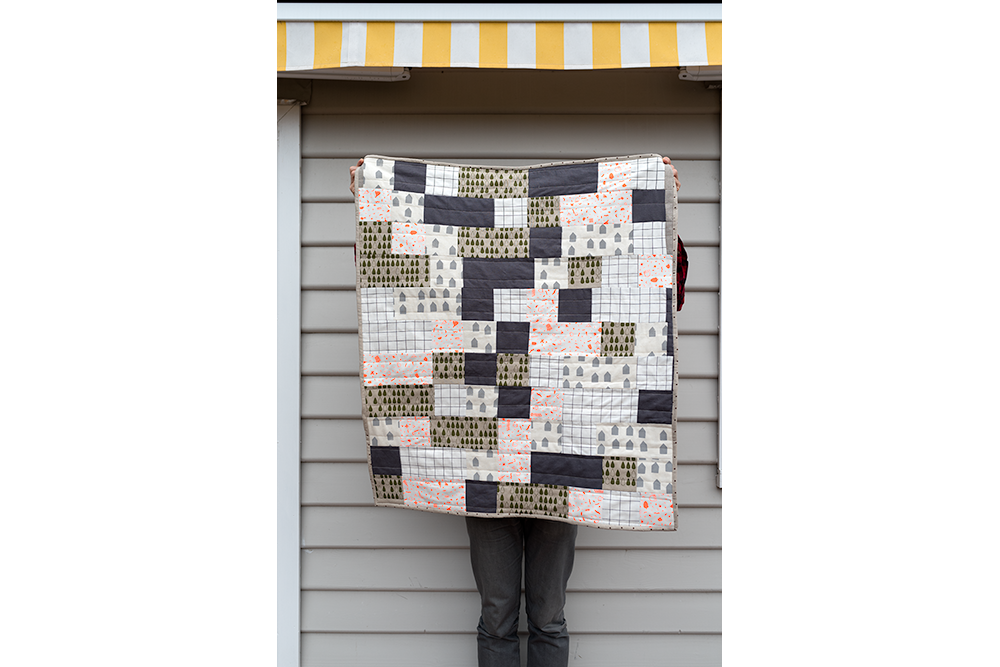
This weekend, for the first time in ages, I didn't have much on, which meant I finally had time to finish the quilt I started last month. I'd forgotten how fun they are to design and make, and how the little details, like making your own binding, can be so rewarding.

For this quilt I had a few aims - I wanted to make it small and lap-sized (perfect for the cooling weather here in Melbourne), to test out a simple pattern I had in mind, and also show the size of a quilt made using five panels of my fabric (which are around the size of a fat quarter). 

IMGP2194_sq.png

I'd already cut and started sewing up the pieces for the front, and finishing this off didn't take too much time. Then I dug deep into my stash to find some fabric for the binding and the backing - pieces that fit in with the overall colour palette but also provide a bit of contrast. 

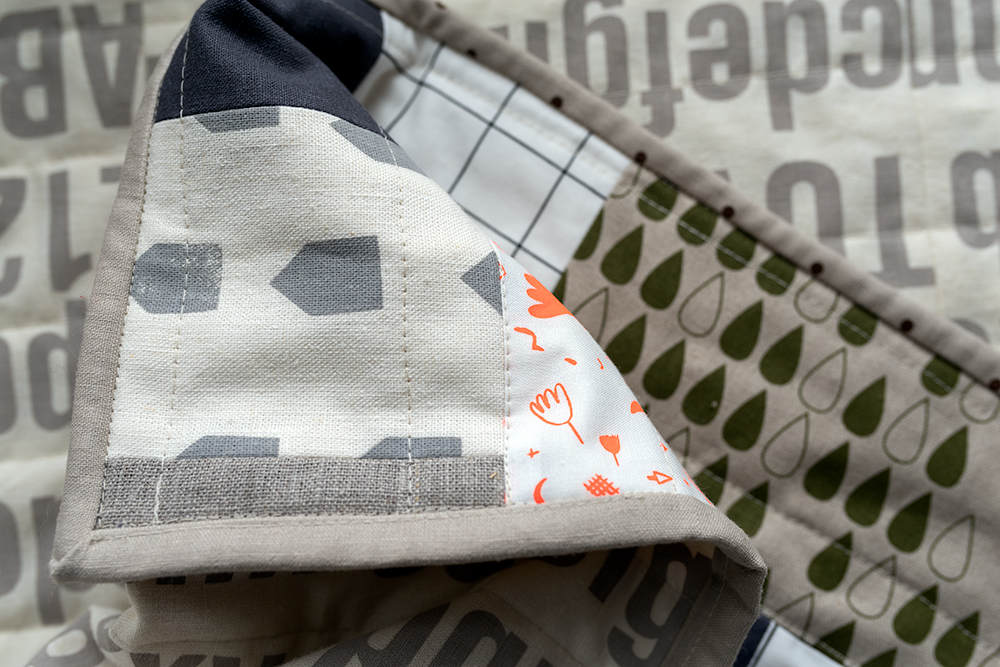
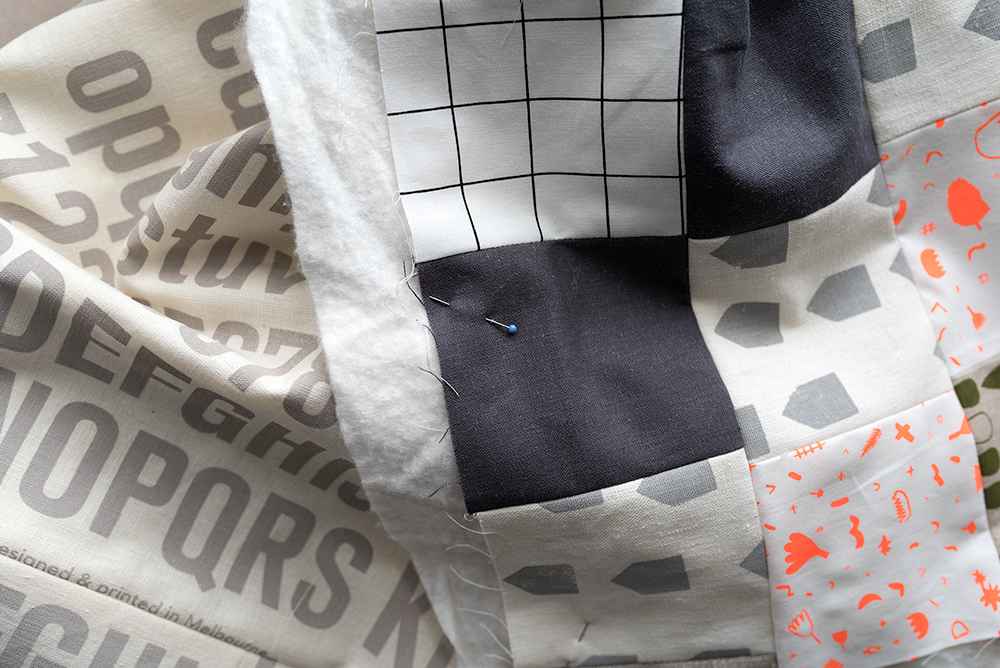
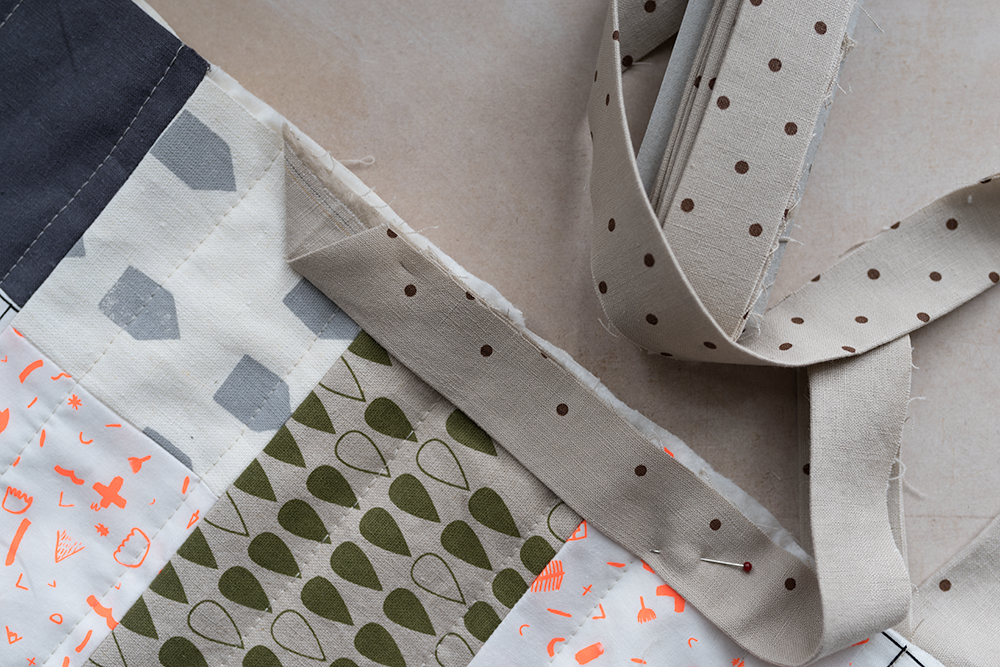
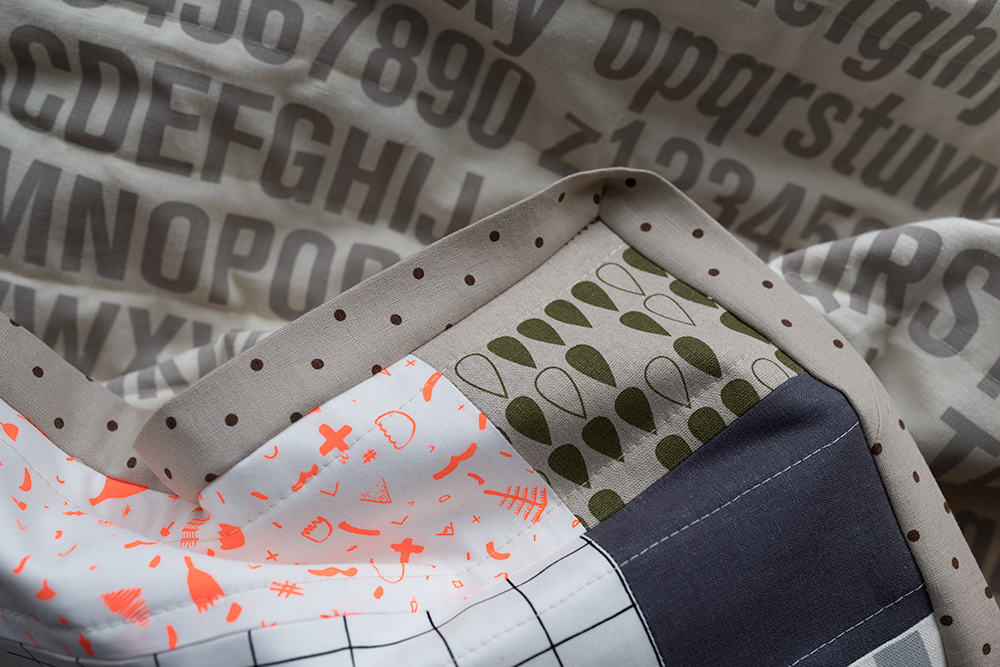
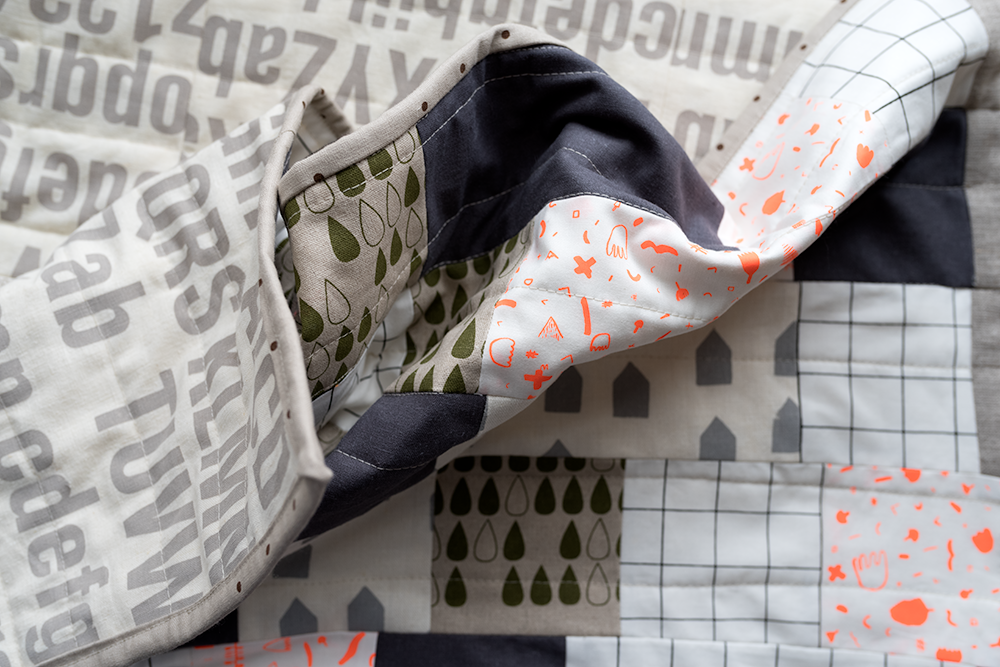
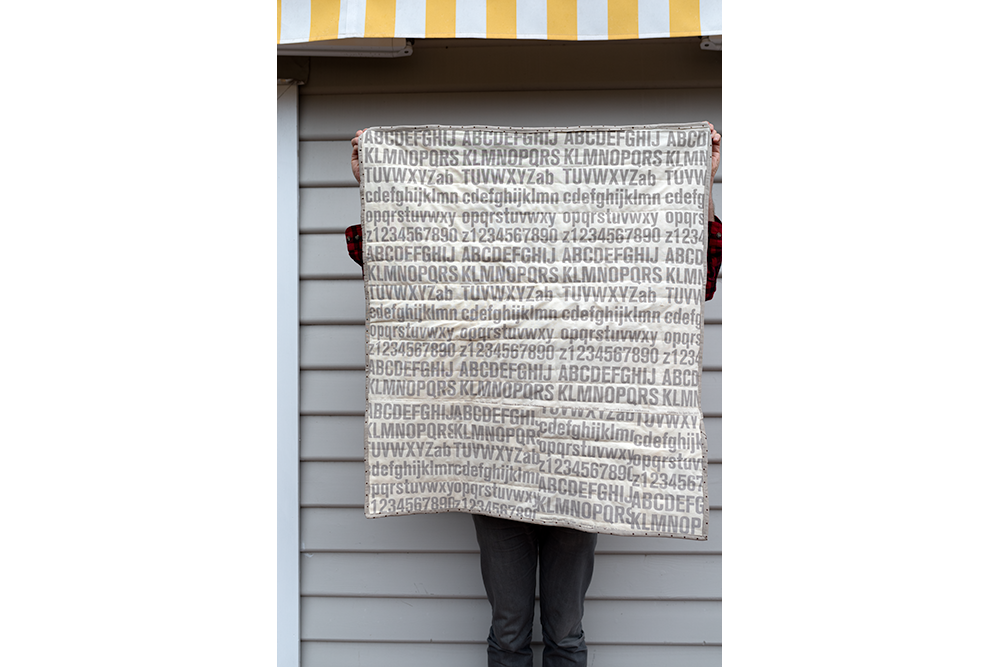
For the binding I chose some fabric I printed in my old studio in Kensington in around 2009 (which is horrifyingly nearly 10 years ago!) It's a small brown dot on a beige cotton linen and mixed in well with the other basecloth fabrics. For the backing I chose some of my yardage fabric from around the same time - Akzidenz alphabet printed on a sturdy organic cotton, in a mushroom grey ink. I recently found a small bolt of this hidden under a bunch of other fabric, which was a nice surprise discovery!

IMGP2162_1000.png

For the actual quilting part I simply sewed across the front in long lines - kind of boring but I'm not into facing quilting stitch patterns. This part is quite meditative, and makes me appreciate how good it is having the right tools, like a proper walking foot (a bit of an investment but totally worth it!).

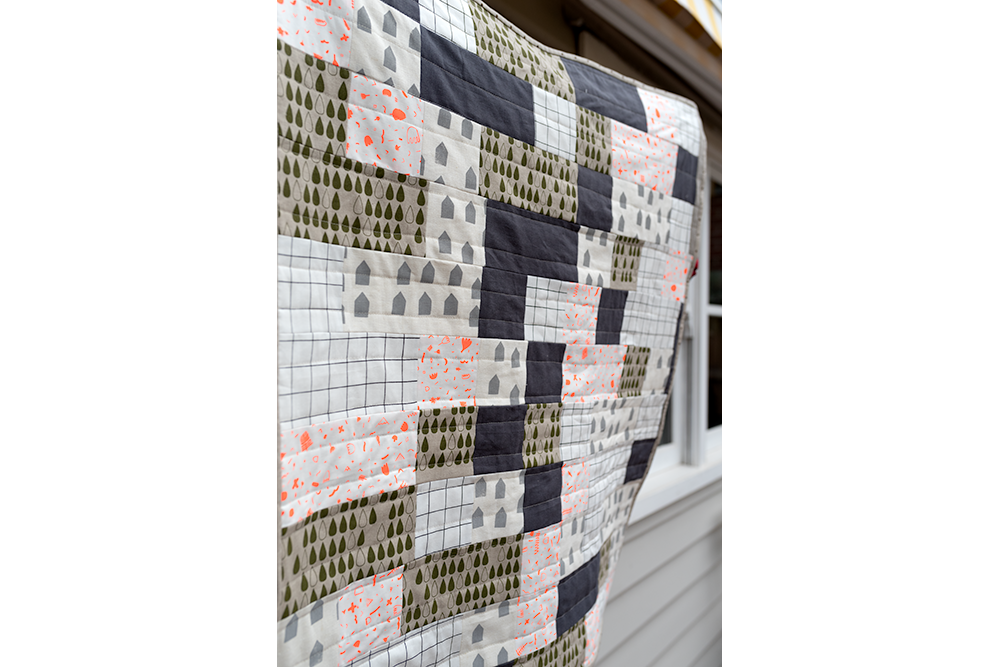
The pattern for the quilt is super simple - squares and rectangles made by cutting up five different panels of Spin Spin fabric (including one plain unprinted panel, the charcoal coloured pieces), then arranging them into a grid. I used a super generous 1cm seam allowance, which I'd probably reduce a bit next time - this would also mean the quilt would be a bit bigger, as there are so many pieces! For the homemade binding I made strips of fabric 2.5" wide but next time I think I'll make the strips a bit wider, so you can see more of it. It would also make sewing it on a bit easier, as there's more room to move. The overall size of this finished quilt is just what I wanted - around 90cm x 100cm (35" x 39.5").

I'd love to know what you think of the look of this quilt and also if you'd be interested in a pattern - please comment if you do/don't like it or if you've got any suggestions. If you'd prefer to send me a message that'd be great too.

Below are some images to give you more of a look and if you keep an eye on my shop, in the next day or so you'll find the April fabric special, a pack of five pieces :) And did I mention that next time I want to make an 8- or 10-panel quilt? I might need a bit more time to sew that one up, hmm.

Craft Tutorial: DIY Customised Felt Pillowcase

If you are looking for a fun craft project for yourself, a gift or the school holidays, why not try making a custom felt pillowcase?! So easy, so fun and they make a great personalised gift. In place of a pillowcase you could use a tea towel, T-shirt, a piece of fabric (then frame or use as part of a quilt) - so many options! I made a few of them recently and here are my very basic instructions.

CRAFT TUTORIAL: DIY FELT PILLOWCASE

TIME:

1-2 hours

TOOLS:

  • Paper and coloured pencils

  • Sewing machine

  • Iron

  • Sharp scissors

  • Pins

  • Blank pillowcase (or T-shirt/ tea towel/ fabric piece)

  • Various pieces of coloured felt

  • Coloured thread to match the felt (or use a contrasting colour!)

  • Iron-on interfacing

METHOD:

  1. Take your paper and pencil and sketch out a little version of your pillowcase, and mark up the shapes and letters you’d like to include on it. Think about the scale of the different objects, and what colour you’d like them to be, and mark/colour in any of this detail.

  2. Once you’ve finalised your design, sketch out to-scale versions of the shapes and letters onto another piece of paper. Cut the paper shapes out.

  3. Iron the interfacing onto the reverse of the felt pieces, using a low heat (so you don’t burn the felt!) This will give it a bit of reinforcement, and will also make it easier to sew.

  4. Pin the paper shapes onto the front of the felt, and cut them out with sharp scissors.

  5. Arrange the felt pieces onto the pillowcase, and pin them in place.

  6. Topstich the felt pieces onto the pillowcase, about 3mm from the edge of the felt, backstitching at the start and end. I use a wide stitch and set my machine to its lowest speed. Don’t worry if some of them end up a bit wonky - this adds to the charm.

  7. Admire your handiwork!

If you make one, I'd love to see it so remember to share (tag me on Instagram @hellospinspin) :)

IMGP6748.png
IMGP6744.png

Seven Panel Quilt with a painted back

I'm working on my first quilt pattern, which is pretty exciting. It will be super simple to put together, using just seven pieces of fabric, and will look similar to the quilt below, which I made recently. I'm so into easy sewing projects that you can finish off in one or two sittings.

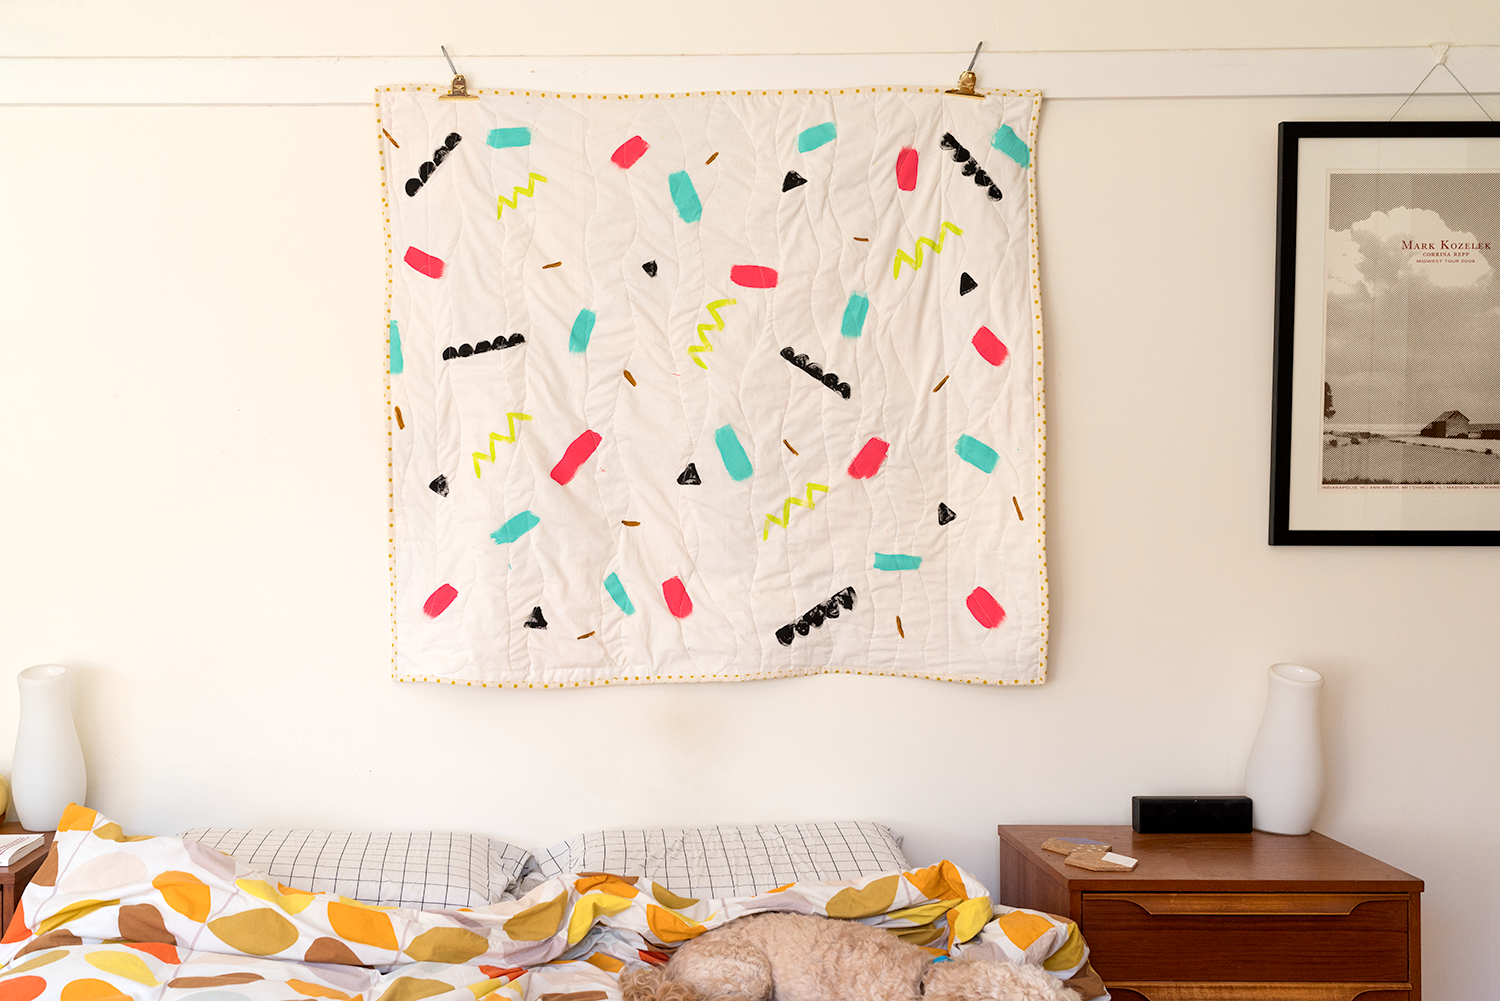
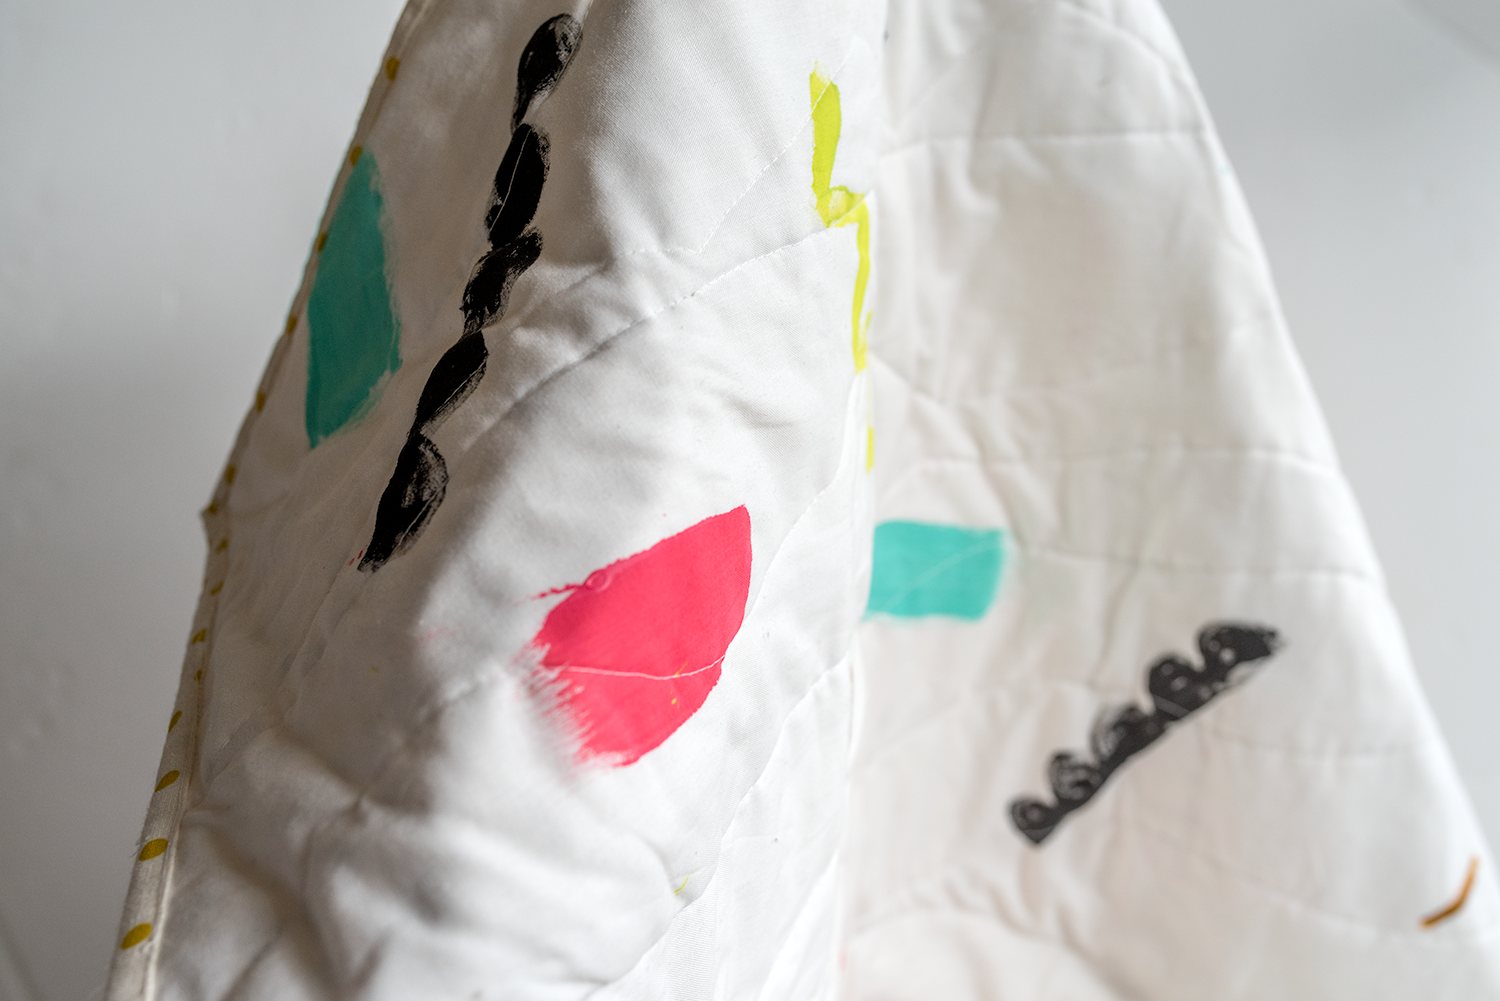
Oh, and the best thing about making the below quilt? The back is hand painted using the same coloured ink as the quilt front. It took about 10 minutes to go crazy with the ink and a paintbrush on a blank piece of organic quilting fabric, and was so much fun. I've been thinking of selling little pots of paint, so you can paint your own fabric, so watch this space for that. In the meantime, wish me luck with the Tetris-like project of creating a quilt pattern that actually works. Fingers crossed.

YOU MIGHT ALSO LIKE: