30% OFF SALE NOW ON!

Yep, the biggest sale ever - 30% OFF* Use code: JUNE30.

Available in both shops - spinspin.com & spinspin.etsy.com. Lots of one-off things and once they're gone, that's it. Oh, and there's slightly different stock in each shop!

*Excludes gift vouchers. Available until 11:59pm AEST Tuesday 13/06/17.

DIY Craft Tutorial: Fabric Covered Buttons

I always have so many scraps of tiny remnant fabric, leftover from sewing projects and whatnot. These bits might be small but they're full of colour and texture and personality - little snippets of designs I dreamt up in a notebook and turned into a real-life thing. And the texture of the fabric really shines when you've got little itty bits - the raw roughness of flax linen, the supersoft and pure white of quilting cotton and the body and texture of organic hemp.

Yonks ago I made a heap of buttons and did a little DIY tutorial (hello, old blog!) Back then I started out with a process that was a lot more complicated (involving sewing the fabric edges and gathering it, eek) but there's a much easier way and all it involves is buying a couple of really cheap tools, so I figured it's about time I did an updated tutorial. It takes no time at all to whip up a bunch of buttons yourself once you're set up, so get onto it!

CRAFT TUTORIAL: FABRIC COVERED BUTTONS

TOOLS

  • Fabric scissors

  • Fabric scraps (preferable of different prints and textures, but that work together)

  • Metal self-covered buttons - shells (the front) and backs (shanks). I use the 23mm size, 7/8", which is US size 36).

  • Self covered button assembly tool, to match your button size (these cost around AU$5, you can buy them online)

  • A circle template to match your button size (you can get fancy ones with an inner circle cut out, so you can see how much of the fabric will show on the finished button, but I like the surprise of not quite knowing! You can see mine below - I made it using a piece of plastic cut to 22mm)

METHOD

STEP 1: Use the circle template the cut a bunch of fabric scraps to the right size.

STEP 2: Place the fabric, right side down, on top of the tool base. Then place the button, right side down, on top of the fabric, along with the blue presser tool.

STEP 3: Press the button and fabric into the base. You may need to apply a bit of pressure and sometimes it's easier to turn it upside down, as per step 6.

STEP 4: Smooth out any kinks in the fabric using your fingernail.

STEP 4: Smooth out any kinks in the fabric at the button edge. 

STEP 5: Position the button back on top of the neatened fabric.

STEP 5: Position the button back/shank on top of the neatened fabric.

STEP 6: Place the blue presser tool on top of the button back (hollow side down) and turn upside down. Press the tool base. You'll hear a click when the back is locked in place.

STEP 6: Place the blue presser tool on top of the button back (hollow side down) and turn upside down. Press the tool base. You'll feel it click when the back is locked in place.

STEP 7: Admire your handiwork!

STEP 7: Admire your handiwork!

That's it! Sooo simple. Once you start making some buttons, you'll get addicted and want to make a heap. What do you do with them? I've put them on clothes, cushions, used them as decorations on gifts, used them tied into hair elastics - the possibilities are many. Or get flat backs and glue a magnet on the back and put them on your fridge. Happy crafting! 

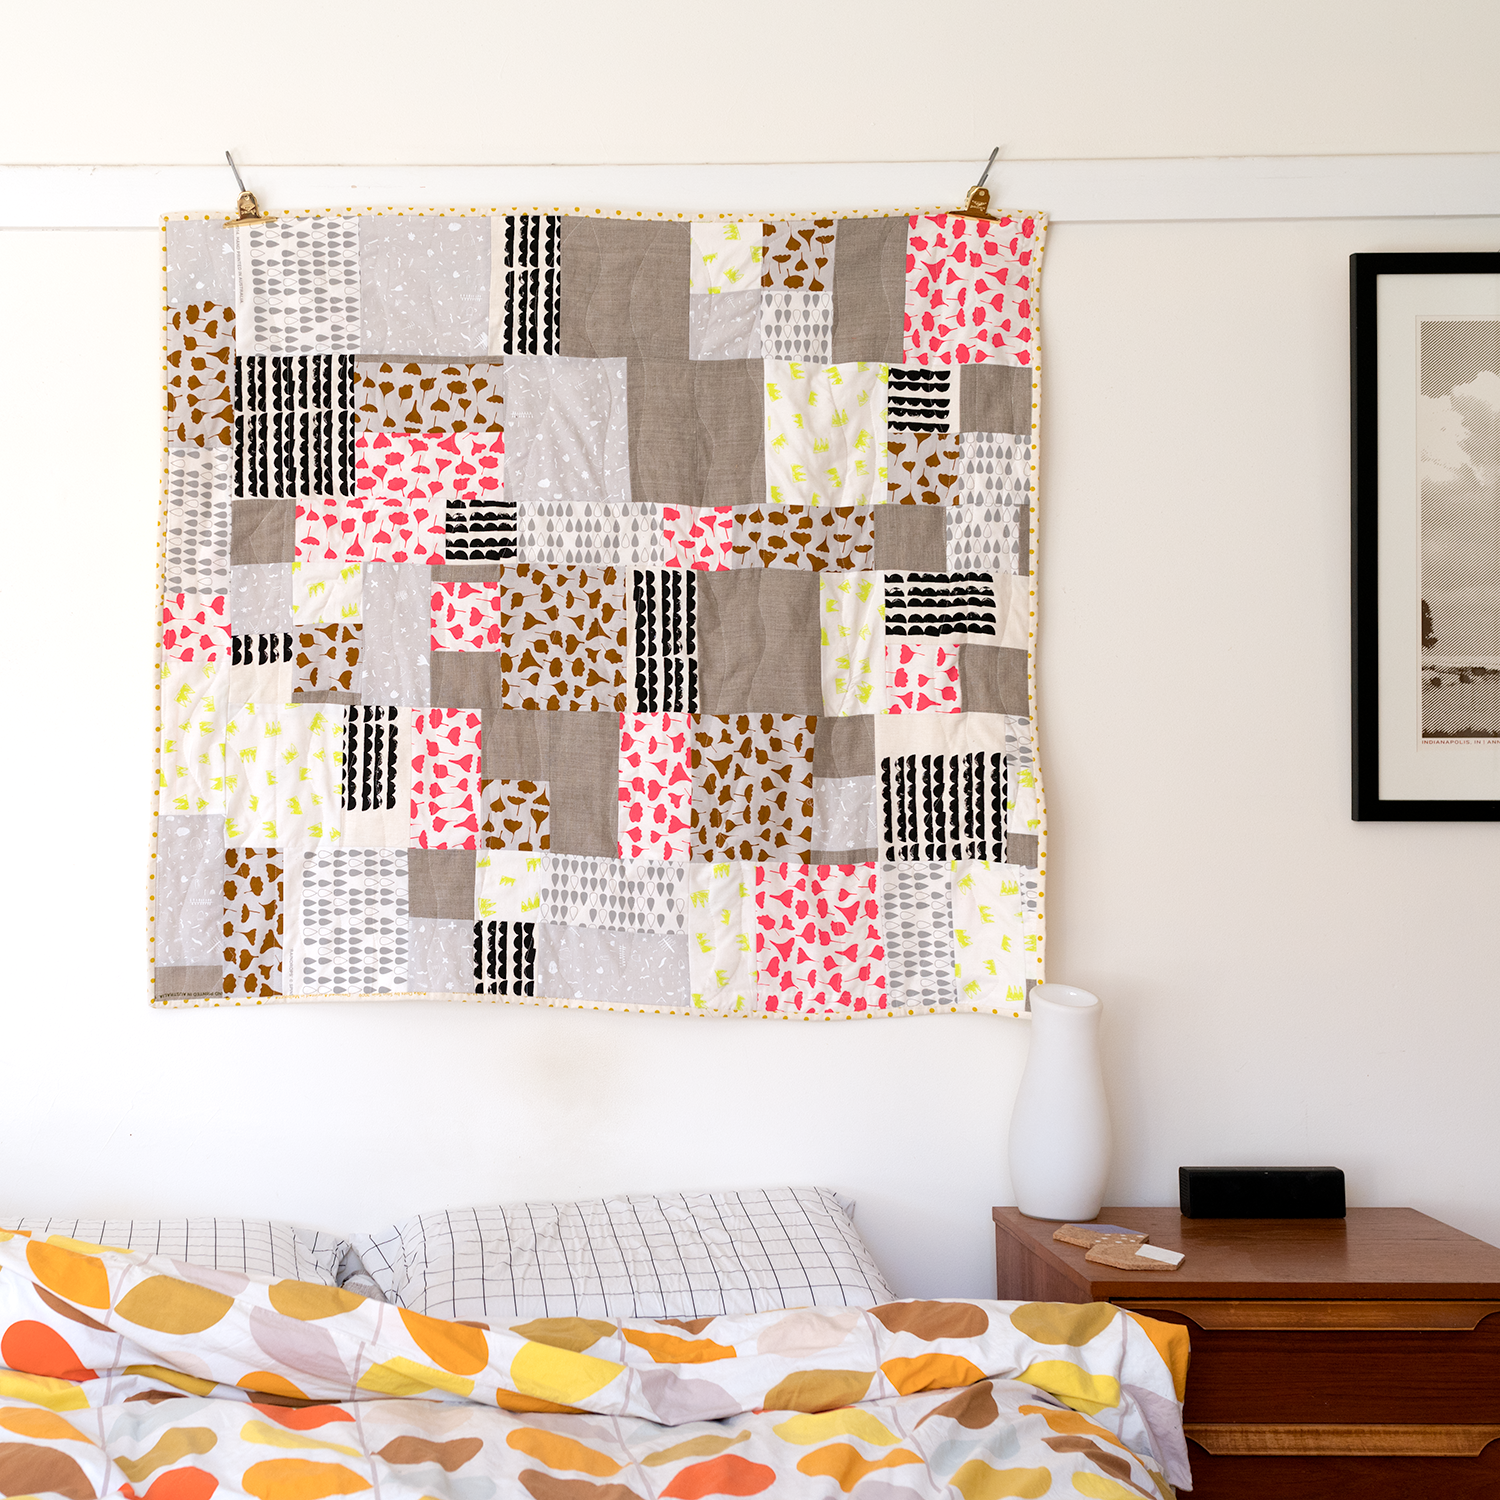
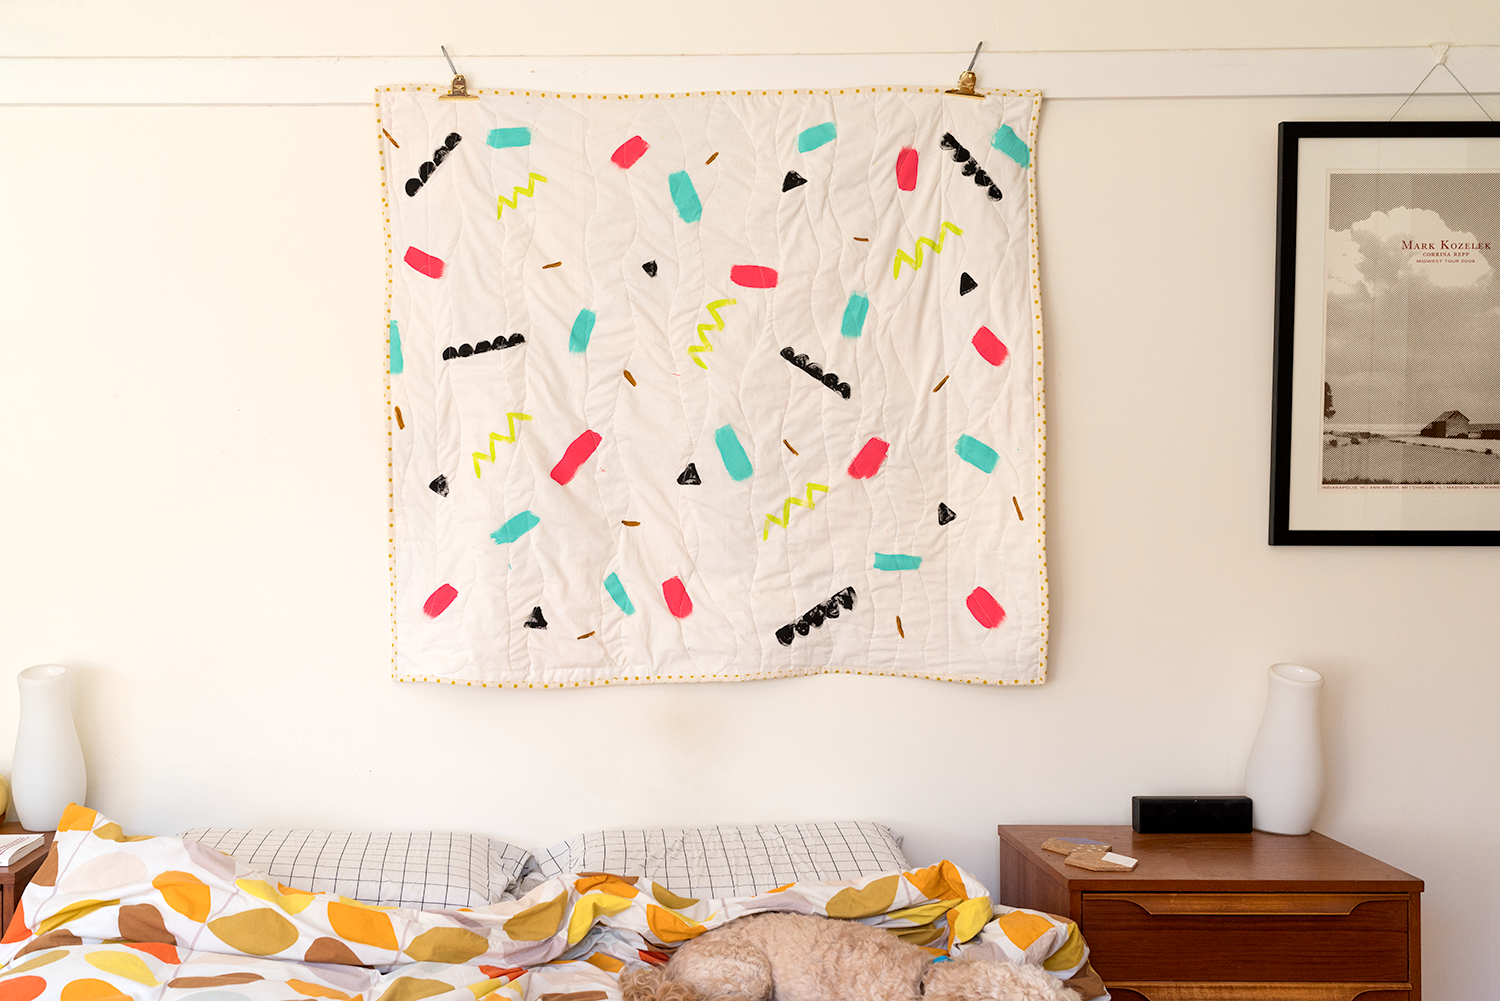
Seven Panel Quilt with a painted back

I'm working on my first quilt pattern, which is pretty exciting. It will be super simple to put together, using just seven pieces of fabric, and will look similar to the quilt below, which I made recently. I'm so into easy sewing projects that you can finish off in one or two sittings.

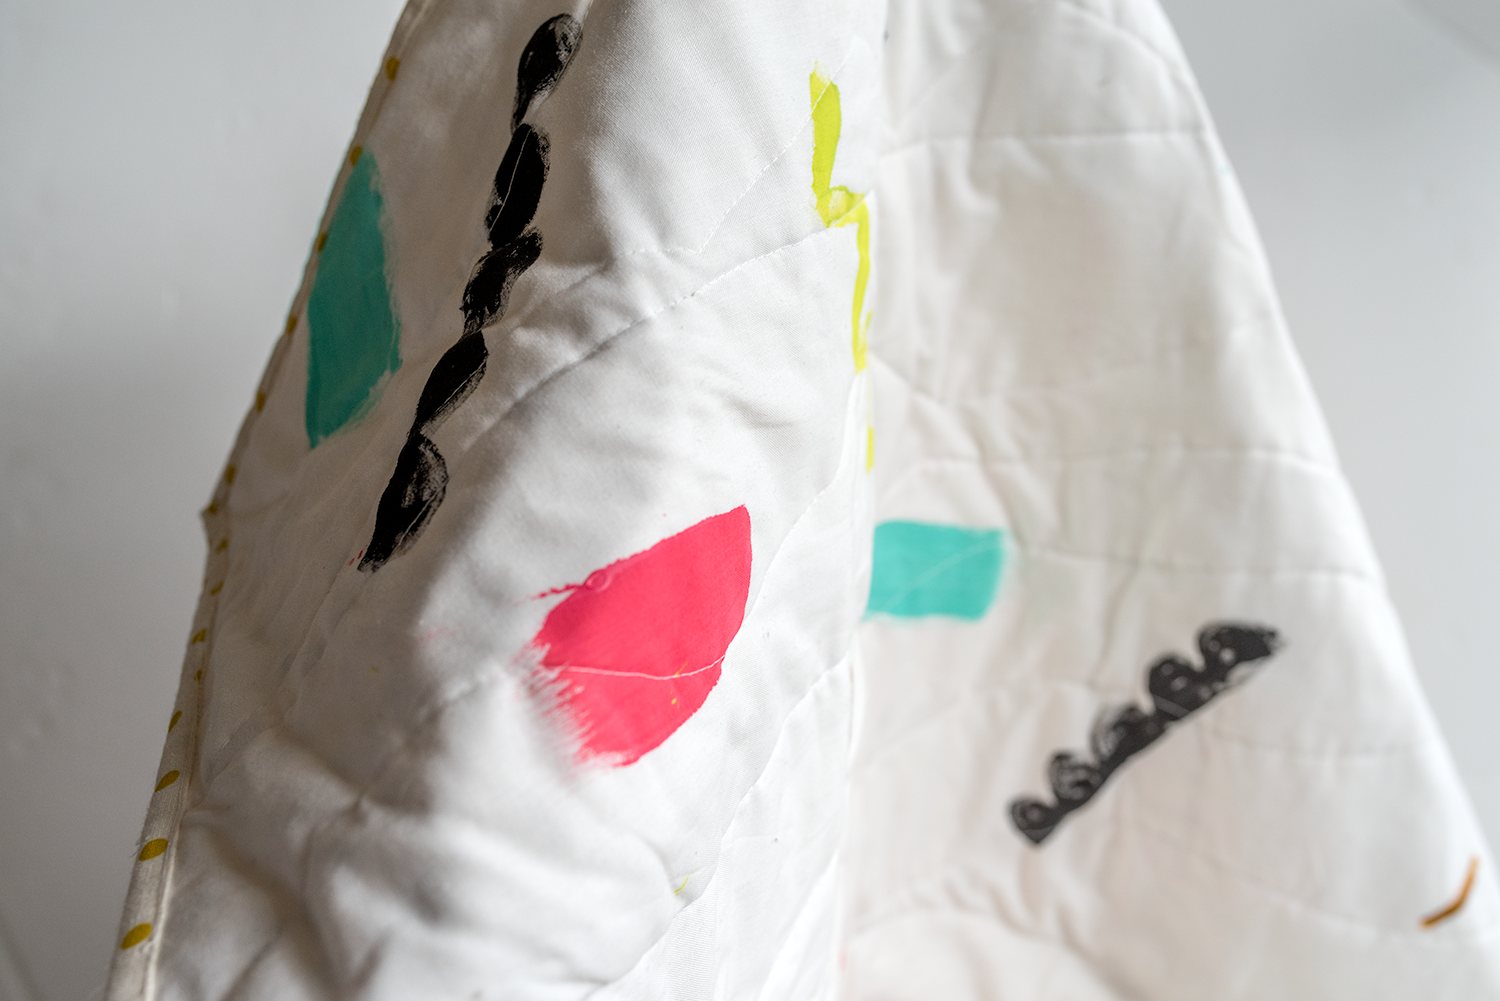
Oh, and the best thing about making the below quilt? The back is hand painted using the same coloured ink as the quilt front. It took about 10 minutes to go crazy with the ink and a paintbrush on a blank piece of organic quilting fabric, and was so much fun. I've been thinking of selling little pots of paint, so you can paint your own fabric, so watch this space for that. In the meantime, wish me luck with the Tetris-like project of creating a quilt pattern that actually works. Fingers crossed.

YOU MIGHT ALSO LIKE:

Spin Spin x Dawn Tan soap + dish packs

I'm excited to finally share a little collab - Spin Spin x Dawn Tan soap + dish packs.

Dawn Tan is an illustrator, teacher and soap maker extraordinaire. Her soaps are all handmade using the finest ingredients, and when I heard her explain that they need to drain freely (ie: not sit in water), I dreamt up the idea of making some simple yet functional ceramic soap dishes. It took a bit of prototyping to get the drainage holes right, and to get the clay and glaze combinations right, but they're finally here. There are two types of dishes. The first is made from white raku with a matt glaze, and the second is a porcelain blend clay with a lovely glossy glaze. And you can choose from five (UPDATE: four! Sorry, Rose has sold out.) soap varieties. Happy Monday to you.

Fabric fabric fabric, buttons buttons buttons

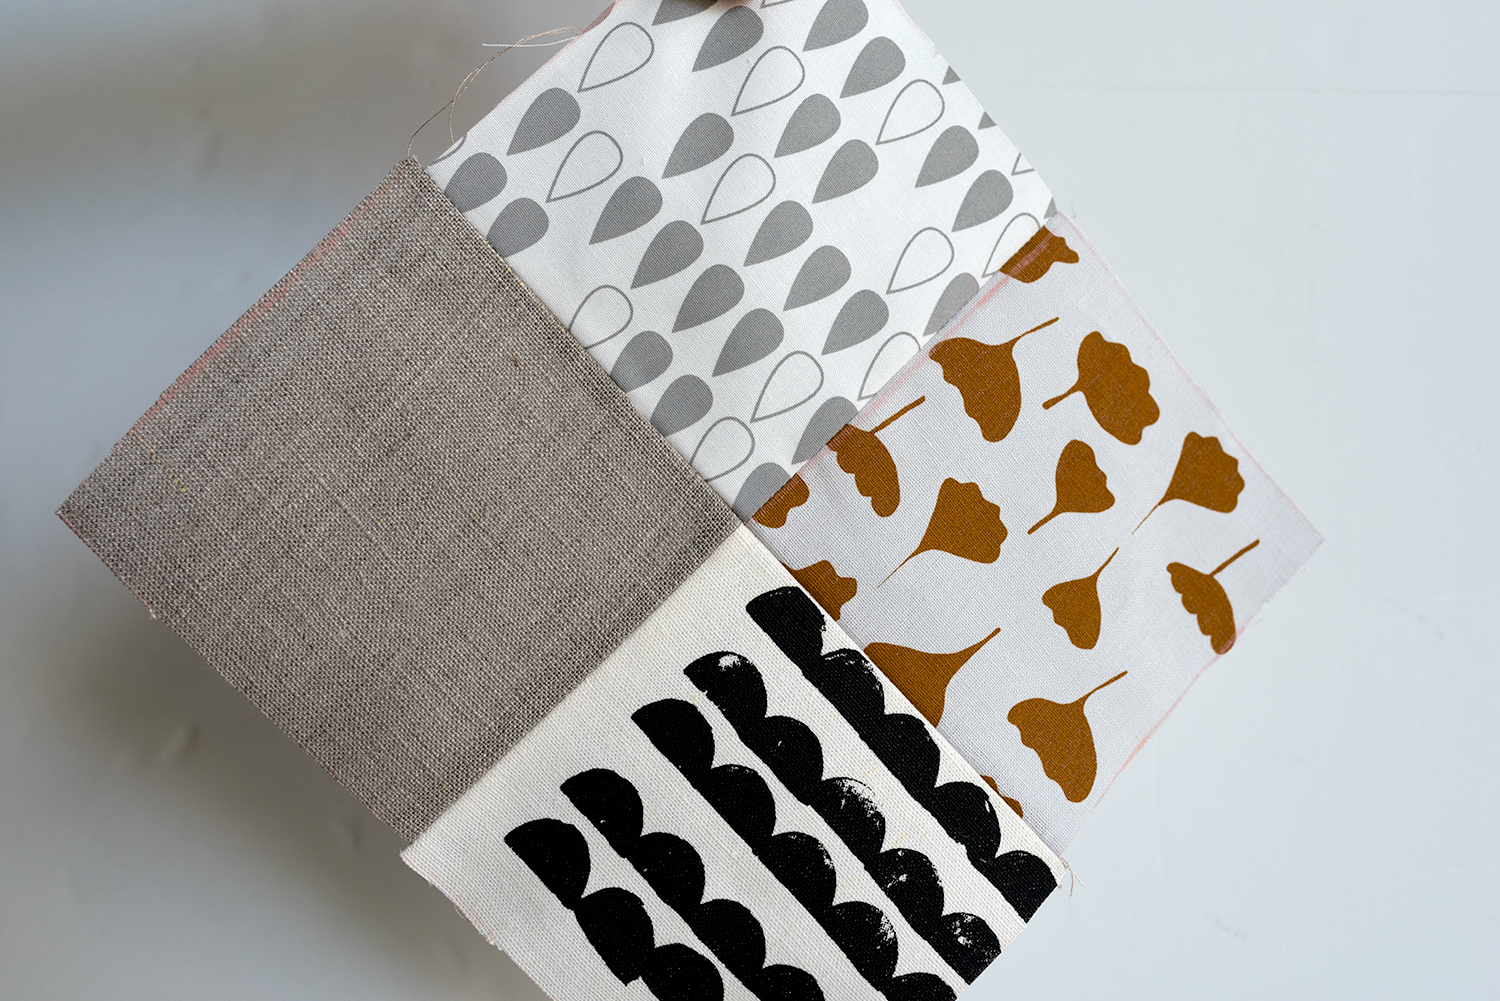
Every now and then I reach *peak fabric*, ie: I end up swimming in a sea of the sceenprinted goods. This week was one of those times, so I promptly made up a whole bunch of colour-coordinated fabric packs, which are available as of today. And if you want to be the first to hear about such things in the future, make sure you sign up for the (infrequent) mailing list and get first dibs.

Oh, and I also went crazy making fabric covered buttons, so all orders received in May will get some buttons thrown in, for good measure. I hope you love buttons as much as I do.

Happy Friday!

IMGP4399.png
IMGP4416.png

YOU MIGHT ALSO LIKE: 

Easter

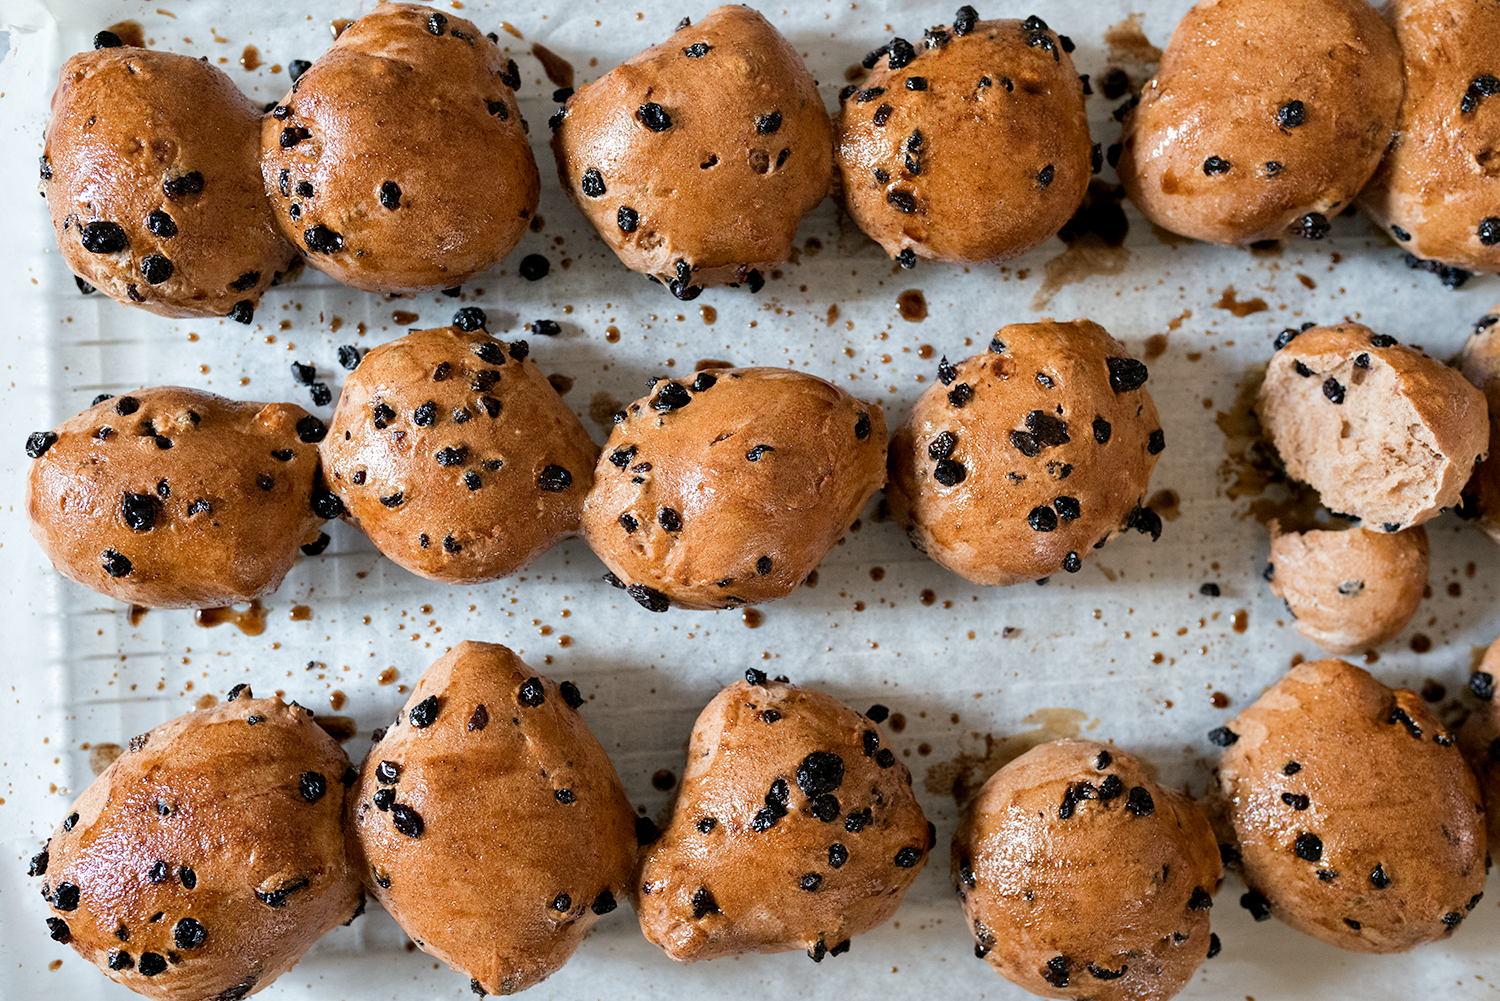
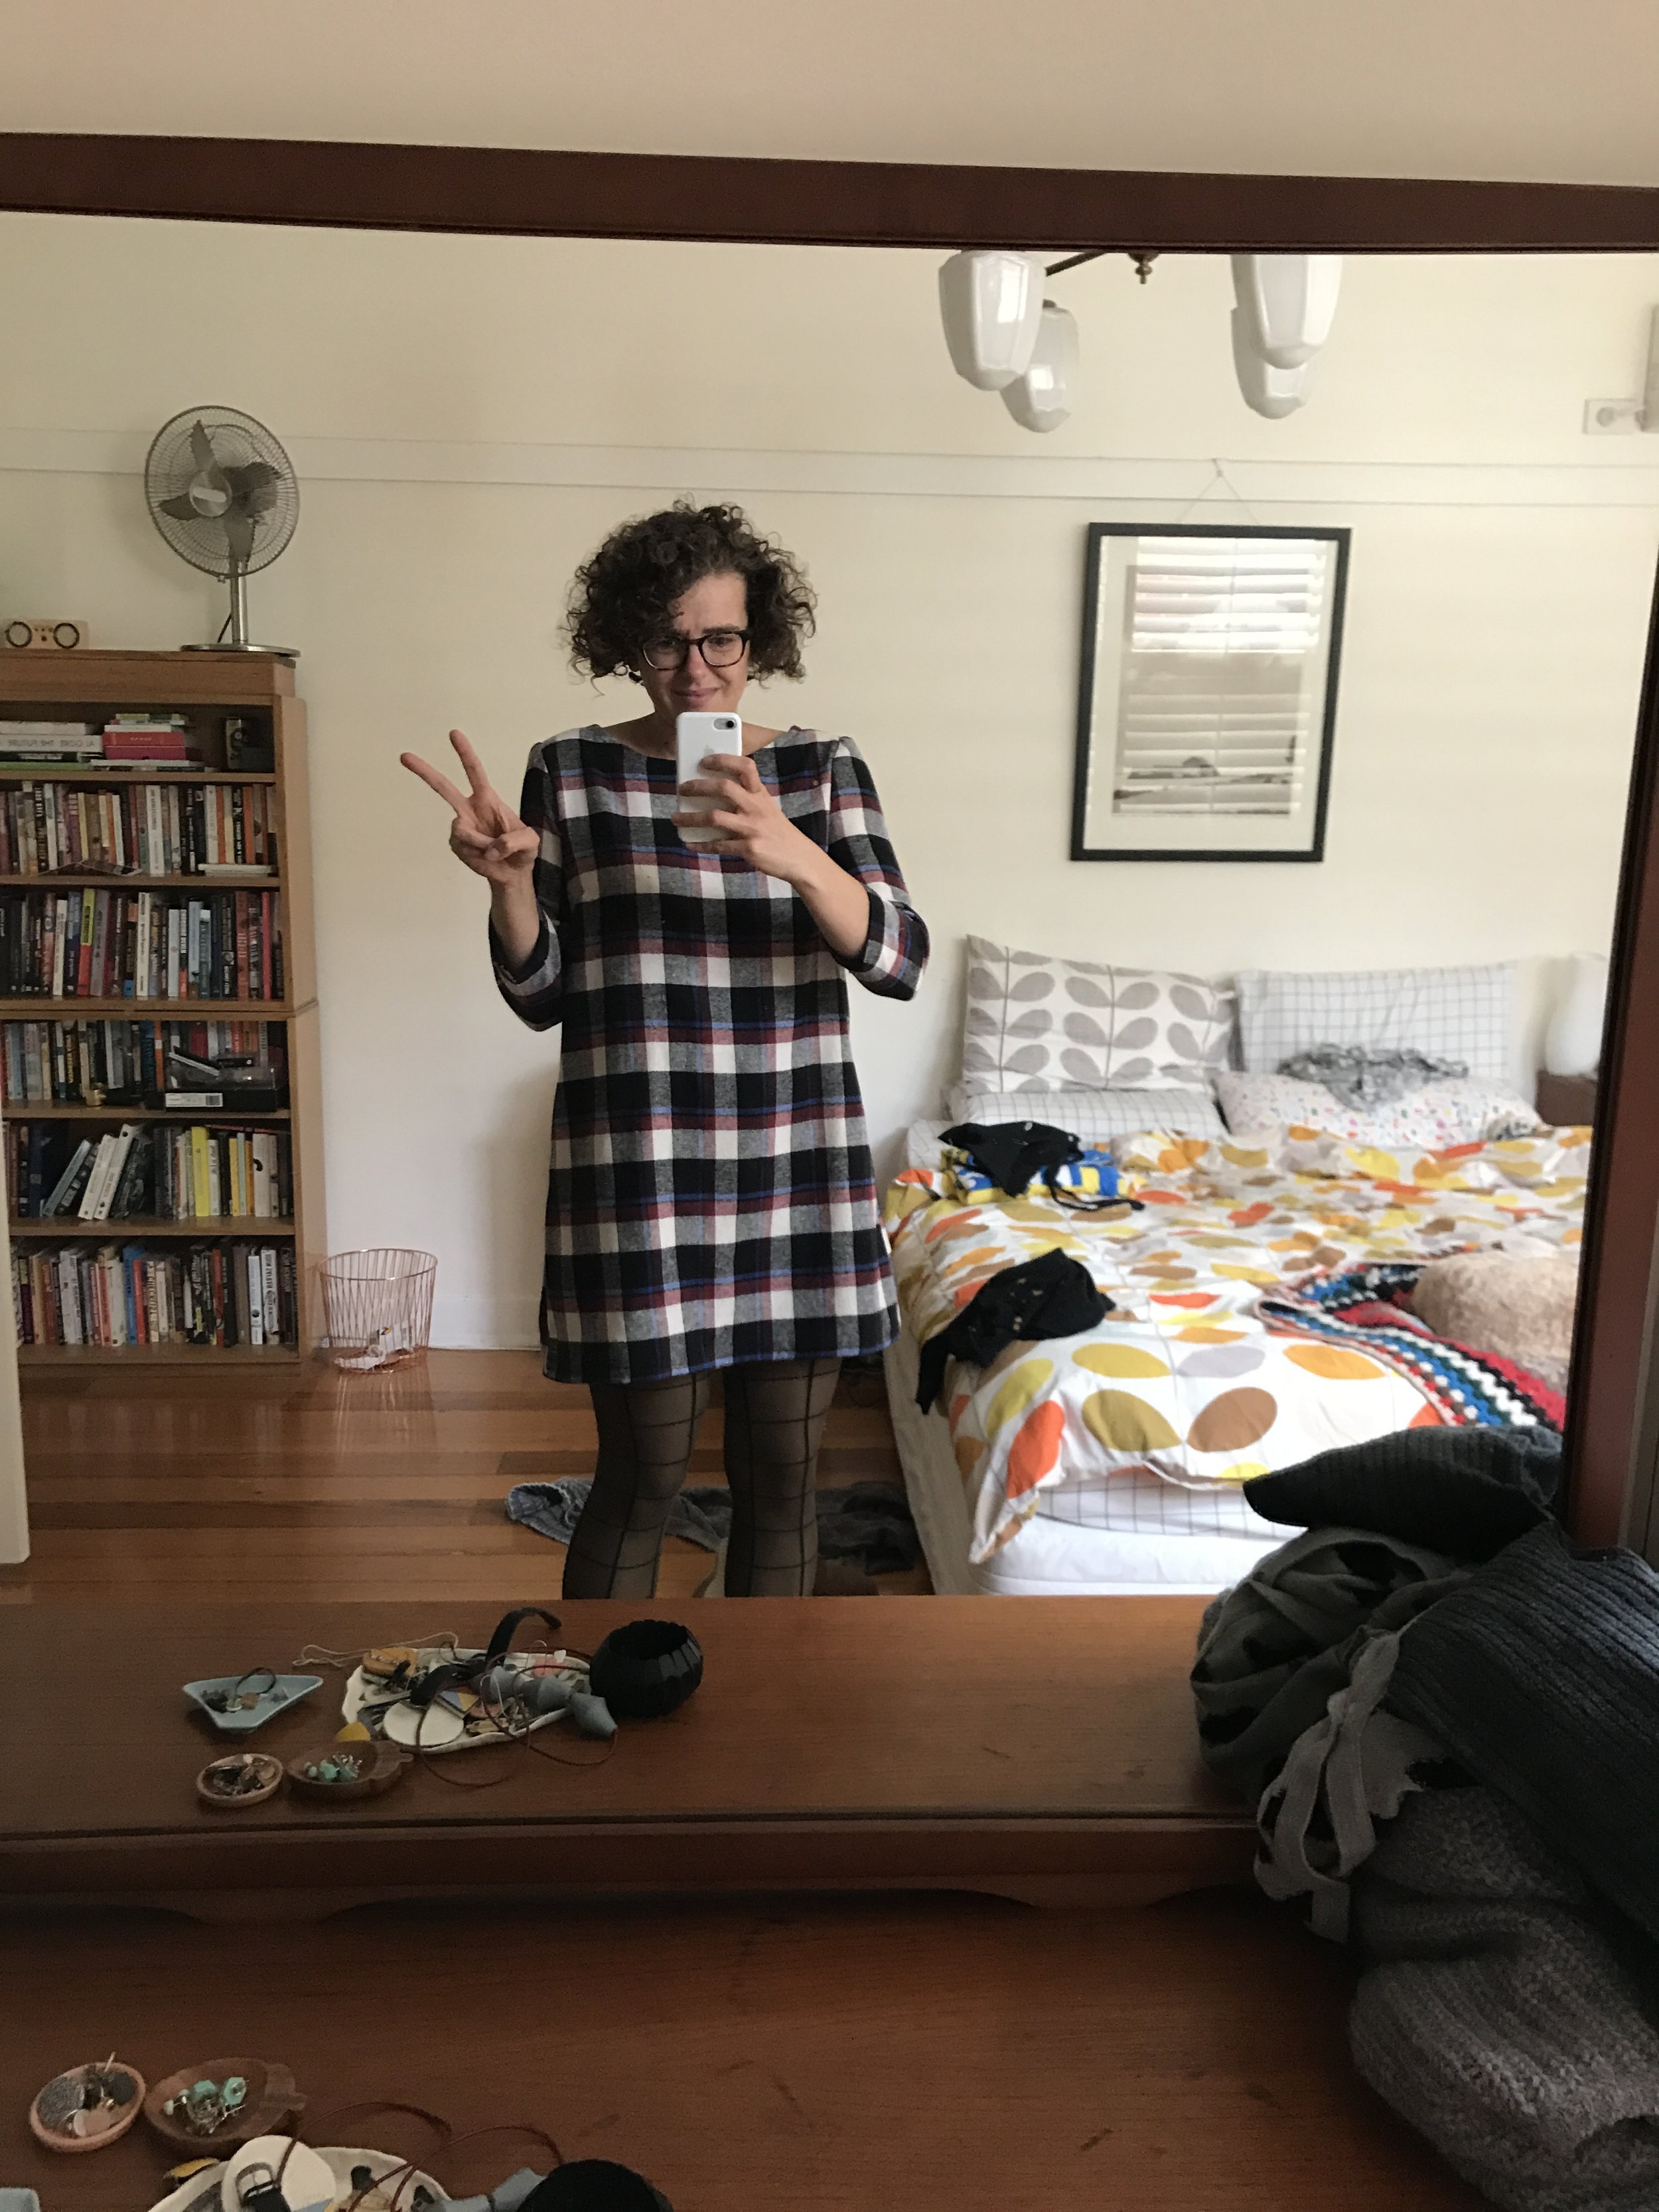
Wow, how great is the Easter holiday break? Getting four days off in a row is just the best - you can wind down, relax but you also have time to get stuff done. And I did sooo much - I baked (non-religious) buns (super old recipe from me here) and a pavlova, hung out with friends and family, enjoyed the autumn sunshine, went to a (city) beach, did some house painting and weeding AND did lots of sewing - some more work on a quilt pattern I'm developing, and I made two tunics from Lotta Jansdotta's Everyday Style book, which I bought ages ago - they're so comfortable, can't wait to make more (though excuse the dodgy phone/mirror selfie!) And I got heaps of sleep, so I now feel totally relaxed. Happy Tuesday :)